Emergency Contacts
From Kiosk Documentations
Users have an option to enter their own custom Emergency Contacts to the termite report in addition to the county numbers.
Contents
How to Add a New Emergency Contact
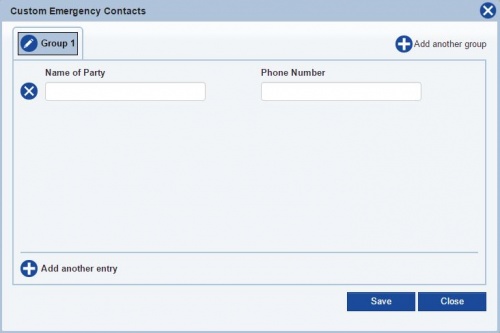
- Open the Emergency Contacts window by hovering over Codebook in the Navigation Panel and clicking Emergency Contacts.
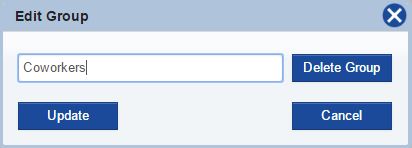
- Edit the group name at the top by clicking on the
 icon, then click Update.
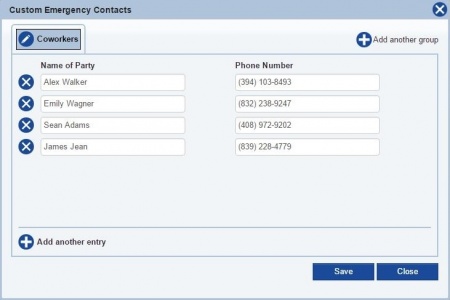
 - Input the contact information. You can add multiple contacts in the group by clicking on
 Add another entry at the bottom left.
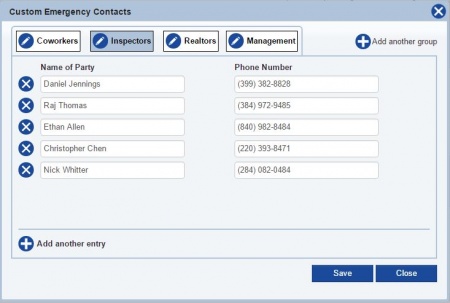
 - You may also add more groups.
- To delete a contact, click the
 icon to the left of the name. To delete a group, click on the
  icon next to the group name and click Delete Group.
 - Click
when finished.
Using Emergency Contacts in Termite Reports
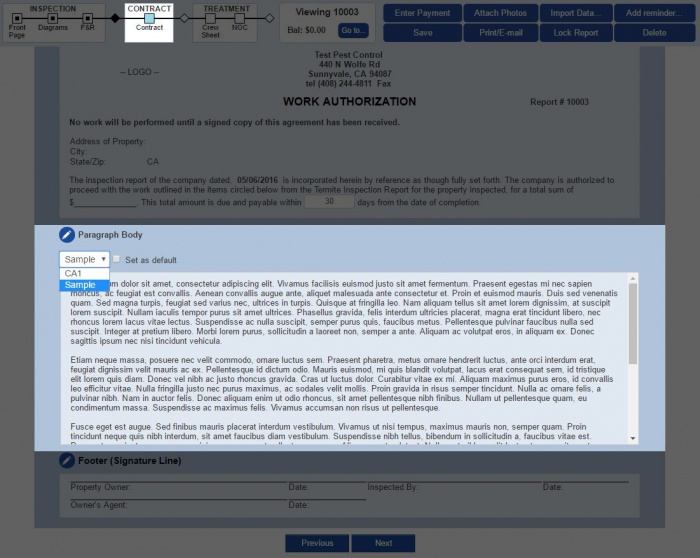
To use your custom Contract Paragraphs in termite reports, you can go through the process until you reach the Contract, or you can skip directly to the step by clicking on the square box under Contract in the process line located at the top.
- Scroll down to the Paragraph Body section, press the drop down arrow and click on the paragraph tag you want to choose.
- If you wish to keep the new paragraph as the default for every termite report, check the mini box on the right (Doing this will not effect previous reports).
- You may also edit and add new paragraphs right then and there by clicking on the
 icon next to Paragraph Body
Managing Emergency Contacts
To edit a paragraph, click on the ![]() icon next to the entry you want to edit.
icon next to the entry you want to edit.
To delete a paragraph, check the small box to the left side of the ![]() icon, then click
icon, then click ![]() . You may check more than one entry at a time.
. You may check more than one entry at a time.

