Difference between revisions of "Company Info"
From Kiosk Documentations
(→How to Input Your Company Info) |
|||
| (2 intermediate revisions by the same user not shown) | |||
| Line 11: | Line 11: | ||
#'''Crop''' when the signature is aligned. | #'''Crop''' when the signature is aligned. | ||
#Click [[File:Save.JPG]] when finished. | #Click [[File:Save.JPG]] when finished. | ||
| − | + | <br><br> | |
---- | ---- | ||
| − | <br> | + | <br><br> |
Your Company Info and logo will show up on the dashboard as well as on the front page of every termite report. | Your Company Info and logo will show up on the dashboard as well as on the front page of every termite report. | ||
| − | + | <br> | |
| − | [[File:Logodash.JPG|450px]][[File:Logotr.JPG|450px]] | + | [[File:Logodash.JPG|450px]]<br>[[File:Logotr.JPG|450px]] |
Latest revision as of 16:38, 11 May 2016

Input the company info to go on all reports.
How to Input Your Company Info
- Open the Company Info window by clicking on it in the Navigation Panel.
- Input the your company information.

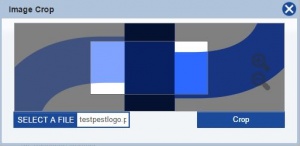
- You may import a logo as an image file (.jpg, .png, .gif, .tif, .bmp)
- Position the signature to fit in the white box by dragging the image, and/or clicking the magnifying glass on the right to zoom in and out.
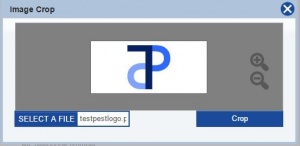
- Crop when the signature is aligned.
- Click
 when finished.


Your Company Info and logo will show up on the dashboard as well as on the front page of every termite report.

